Which areas to highlight with the highlighter ?
While some cosmetic products have been used since time immemorial, and therefore known to all, others are less so. However, they are nonetheless essential and also deserve a place of choice in our makeup kits. This is the case of the highlighter. If this name does not tell you anything, it is because it is the last born of products intended to sublimate the complexion. Widely used by stars, it requires however to acquire a little expertise to apply it. In this article, we will tell you everything about this product to adopt urgently! So, what is this product and which areas to highlight with the highlighter? Follow the guide!
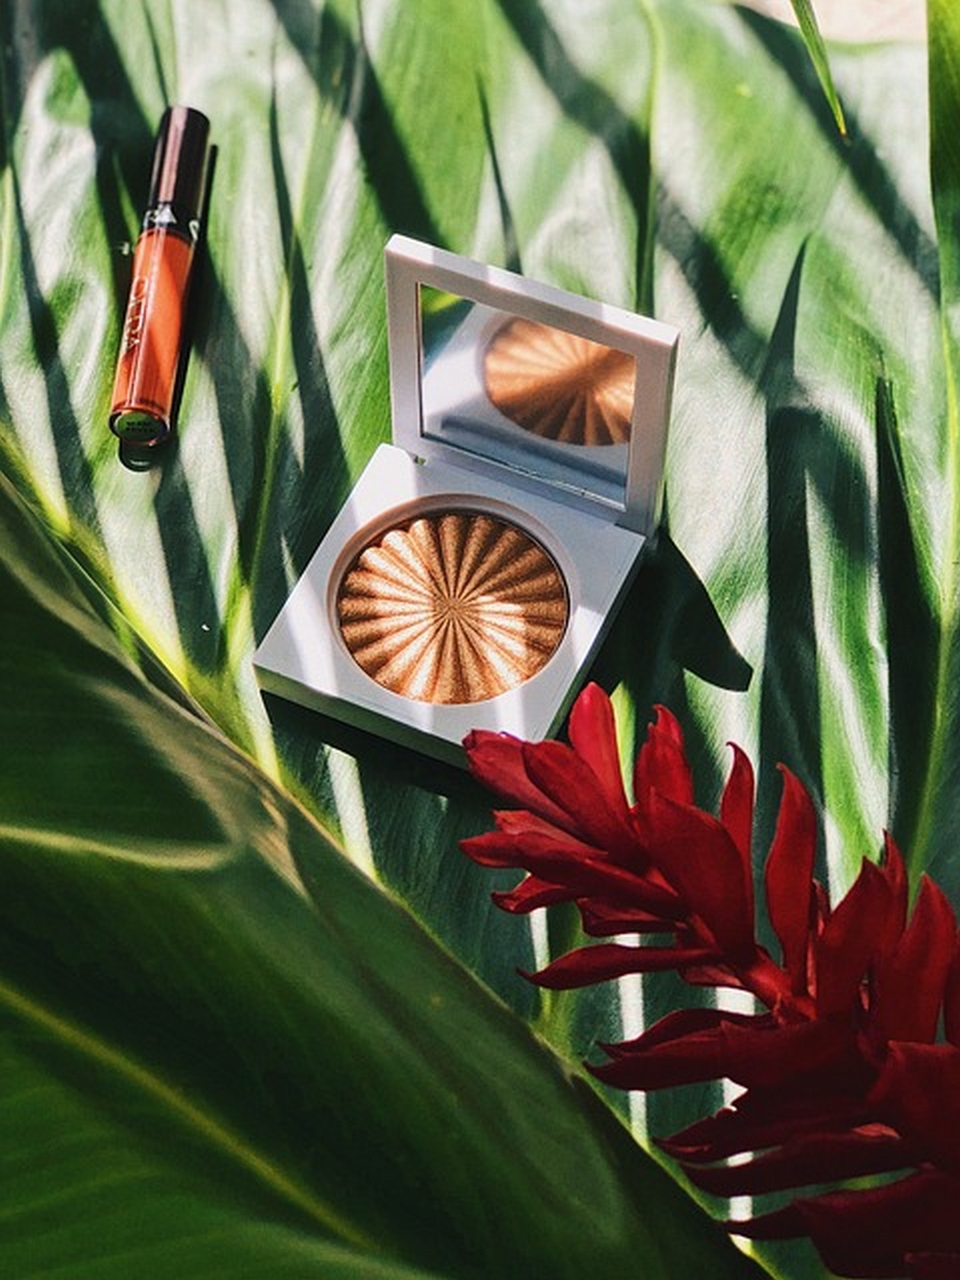
What is highlighter?
The word highlighter” literally means highlighter. Born and popularized in the United States, it enhances certain areas of the face by attracting light. It is based on a brand new complexion makeup technique that, instead of focusing on unity, seeks to bring out certain angles of the face.
This way of creating his make-up was borrowed from cinema and quickly adopted by reality TV stars like Kim Kardashian. He is radically opposed to the makeup of the complexion favoured until then, which consisted in removing any visible trace of shine by mattifying.
Highlighter is the flagship product behind two popular make-up techniques: contouring and strobing. Depending on the effect chosen, it will not apply in the same way, with the same tools or on the same parts of the face.
Composed of light-reflecting microparticles, it enhances natural features by adding a dose of light to the complexion. It is sometimes confused with the complexion illuminator, yet the latter is applied in scattered touches while the first is posed on the entire face.
How do I highlight my face with the highlighter?
With its new popularity, the highlighter is the product to own to highlight your face. However, it is essential to respect some rules, whether concerning the choice of the product or the techniques of application. So, how to choose your highlighter, which areas of the face to illuminate and how to apply it? Here are our tips:
How to choose your highlighter?
As with choosing your foundation, you must choose your highlighter. Many brands offer their version of the product and there is a wide variety of packaging, nuances and textures.
First, you need to know your skin type to navigate to the texture that will work best. Dry skin will prefer a more creamy liquid version that will add an extra moisturizing touch.
Oily skin will be better emphasized by a highlighter powder that will allow them a better hold. For normal to combination skin with few imperfections, you have a choice of texture.
In addition to powdered versions and creams, there are small packages, in the form of lotion or stick, ideal to take everywhere for possible touch-ups during the day.
Now let’s talk about the shades and shades to be preferred. As with any complexion cosmetic, the range of shades is wide, and we recommend choosing the highlighter closest to your complexion.
Of course, depending on the season, the colour of your complexion may vary. It can then be nice to have a different shade depending on your natural tan. For those of us with the brightest complexions, we recommend you bet on a white highlighter.
For darker, even matte skin tones, a rosy complexion highlighter is ideal and will add radiance to your face. Finally, for ebony or mixed skin, the golden highlighter will be perfect for an immediate glow.
Which areas of the face illuminate?
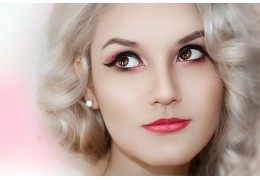
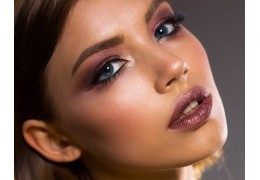
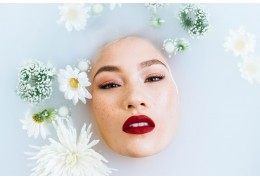
Now it’s about understanding which areas of the face illuminate with the highlighter. As its name indicates, it must be positioned on the areas that reflect light. The prominent parts of the face, such as the bulge of the cheekbones, the eyebrow arch, the top of the upper lip (Cupid’s arch) or the ends of the nose or the inner corner of the eye are the privileged areas.
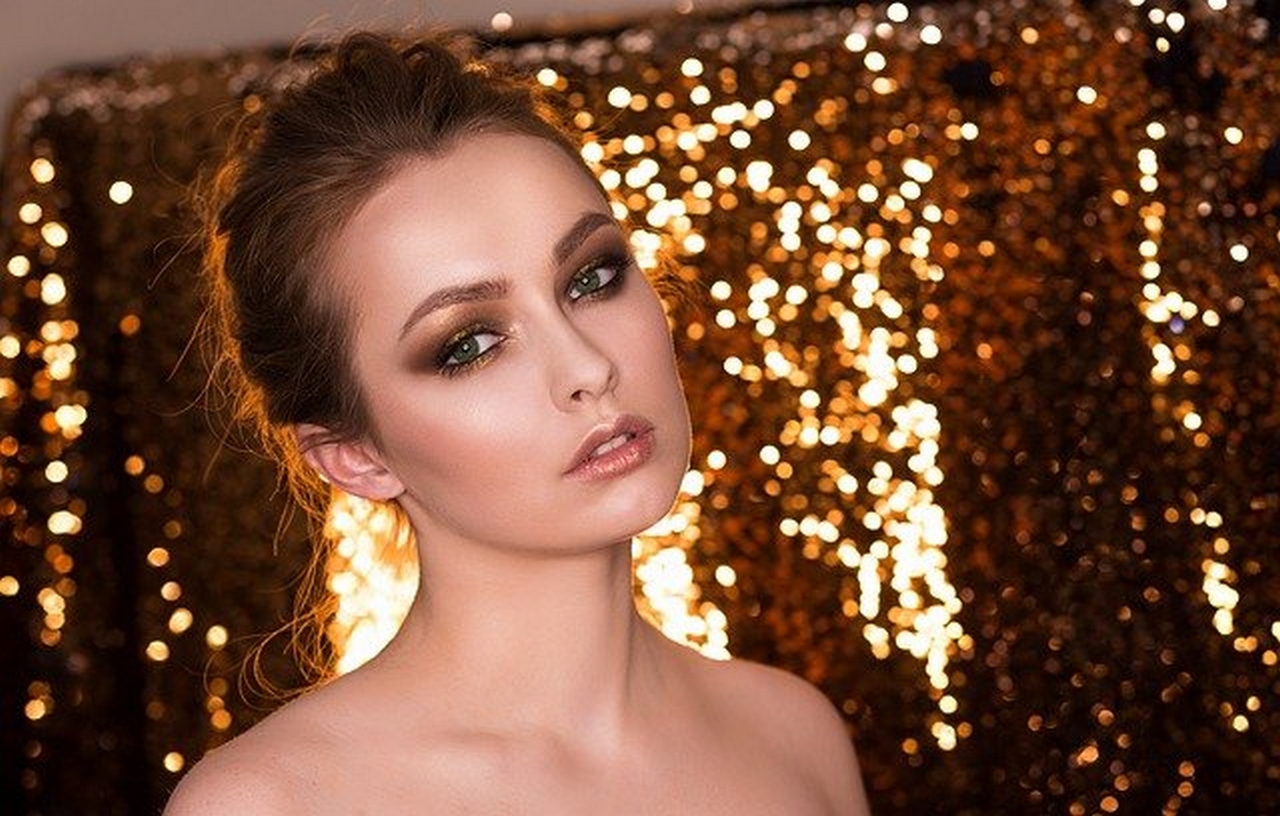
But depending on the desires of each, it can also be applied on the forehead, temples or chin. Let’s see in detail the effect of the highlighter application on these different parts:
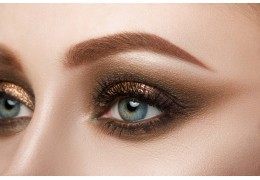
- Cheekbone protrusion : This will enhance your blush and correct redness.
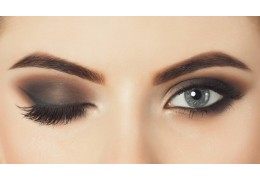
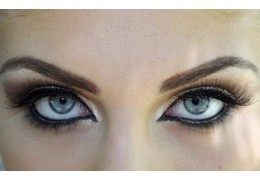
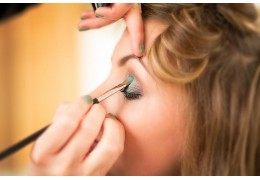
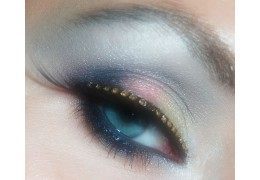
- Below the eyebrows, applying a touch of highlighter to this level by stretching it towards the temples will highlight the design of your eyebrows and make your makeup look sophisticated.
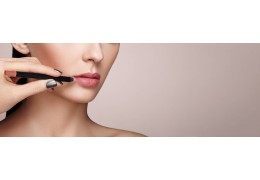
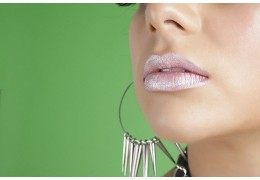
- On the Cupid Bow: Enhance your lips, make-up or not, by giving them a fuller, fuller look.
- The edges of the nose: This allows you to refine your nose and structure its shape. Also, at the center of your face, illuminating this area will make you look radiant.
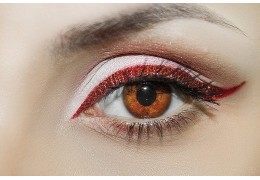
- The inner corner of the eye : Applying highlighter to this area will make your eyes bigger.
How to apply it?
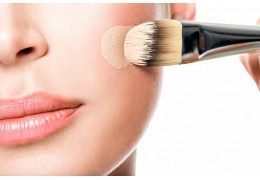
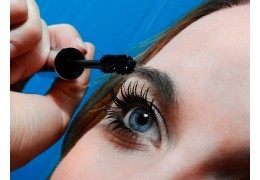
There are different ways to apply your highlighter. First of all, you can paint yourself with a brush for creamy or powdery textures. The wide variety of brush sizes and shapes will help you apply the product accurately.
Make it easier to sculpt your face by creating a perfect contouring. For a more natural look, you can choose to apply it with a sponge. The liquid or creamy highlighters will thus be perfectly melted by penetrating the pores of the skin. The sponge will also be very practical to reduce excess product applied with a brush.
Finally, for unconditional manual workers, fingers are also very effective in applying highlighter. You can easily apply, by tapping, any type of texture, from the most compact to the most fluid. And of course, nothing prevents you from combining these three techniques.
We hope you learned more about this product in this article and that you will know which areas to highlight with the highlighter. By following our advice carefully, you will quickly take in hand the application technique and you will no longer be able to do without the bluffing effect that it guarantees your complexion.